Realistic Product Studio 3D
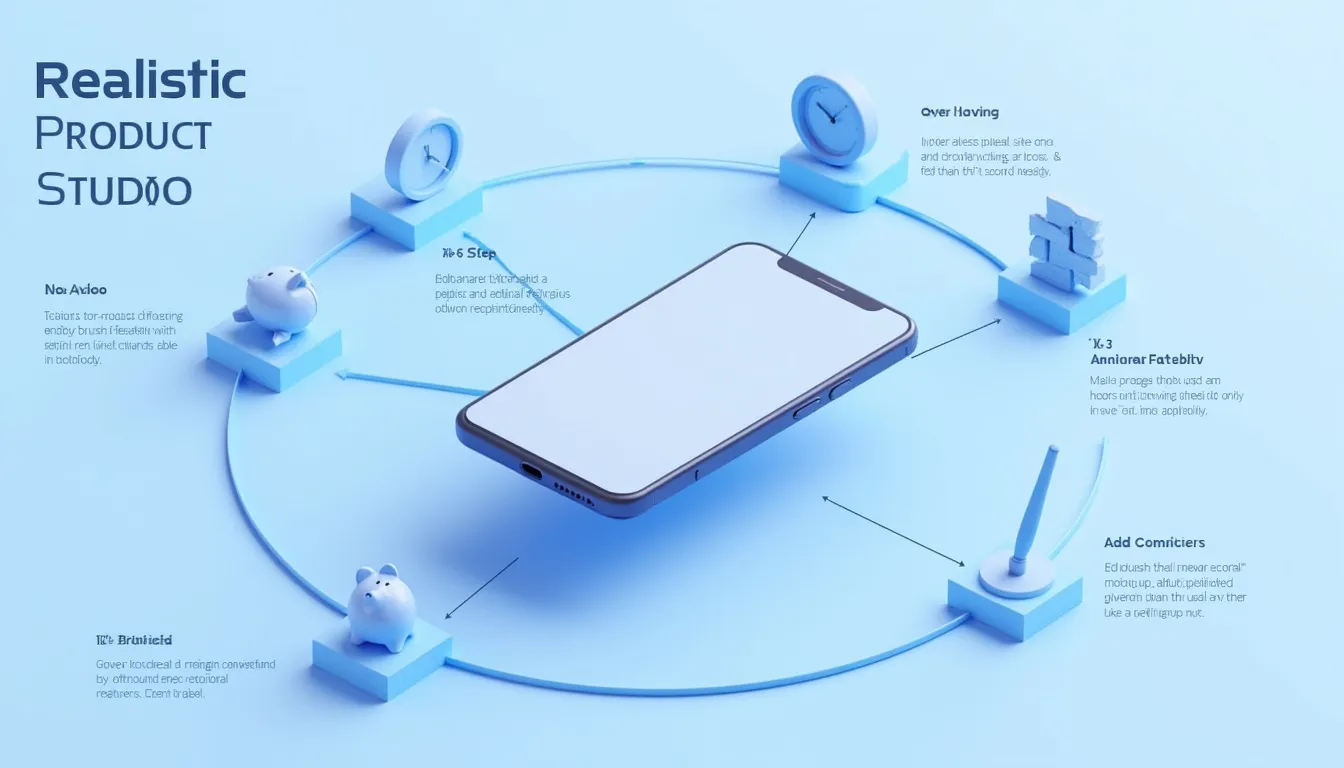
Create stunning 3D product mockups that showcase the intricate details and features of various items. Use realistic materials and lighting to bring the products to life in a studio environment with a simple background to keep the focus on the product.
Is this tool helpful?
How to Use the Realistic Product Studio 3D Tool Effectively
The Realistic Product Studio 3D tool is designed to help you create stunning 3D product mockups with ease. Follow these steps to make the most of this powerful tool:
1. Enter the Product Name or Type
In the first field, input the name or type of product you want to render. Be specific to get the best results. For example:
- Smartphone
- Running shoes
- Luxury wristwatch
- Coffee mug
- Wireless headphones
2. Specify the Desired Angle or View
Choose the perspective from which you want to showcase your product. This helps in highlighting its best features. Some options include:
- Front view
- 3/4 view (shows front and side)
- Top-down view
- Isometric view
- Side profile
3. Set the Color Scheme (Optional)
While optional, specifying a color scheme can greatly enhance your mockup’s visual appeal. You can input:
- Specific colors (e.g., “Navy blue and gold”)
- Color palettes (e.g., “Pastel tones”)
- Mood-based schemes (e.g., “Vibrant and energetic”)
- Material-inspired colors (e.g., “Metallic silver with matte black accents”)
4. Add Additional Elements or Props (Optional)
Enhance your scene by including extra elements. This can add context or highlight specific features. Some ideas include:
- Reflective surface beneath the product
- Soft shadows for depth
- Product packaging or box
- Complementary accessories
- Lifestyle elements (e.g., a desk setup for office products)
5. Generate Your 3D Product Mockup
Click the “Generate 3D Product Mockup” button to create your customized 3D rendering. The tool will process your inputs and provide a detailed description of the generated mockup.
6. Review and Copy the Results
Once generated, review the mockup description in the result container. If satisfied, use the “Copy to Clipboard” button to easily transfer the description for further use.
Introduction to Realistic Product Studio 3D
In today’s competitive digital marketplace, presenting products in their best light is crucial for capturing consumer attention and driving sales. The Realistic Product Studio 3D tool revolutionizes the way businesses and individuals create product visualizations, offering a powerful solution for generating lifelike 3D mockups without the need for extensive 3D modeling skills or expensive software.
What is Realistic Product Studio 3D?
Realistic Product Studio 3D is an innovative web-based tool that harnesses the power of advanced 3D rendering techniques to create stunning, photorealistic product mockups. By simply inputting key details about your product and desired presentation style, the tool generates detailed descriptions of 3D renderings that showcase your items in a professional studio environment.
Purpose and Benefits
The primary purpose of this tool is to democratize high-quality product visualization, making it accessible to businesses of all sizes, individual sellers, and creative professionals. Some key benefits include:
- Time and cost efficiency compared to traditional photography or 3D modeling
- Consistency in product presentation across various marketing channels
- Flexibility to experiment with different angles, colors, and settings
- Enhanced product showcasing for e-commerce platforms
- Improved visual communication for product designers and developers
Benefits of Using Realistic Product Studio 3D
1. Cost-Effective Product Visualization
Traditional product photography or professional 3D modeling can be expensive, especially for small businesses or startups. Realistic Product Studio 3D offers a budget-friendly alternative without compromising on quality. By generating detailed descriptions of 3D renderings, it allows you to visualize your products without investing in expensive equipment or software licenses.
2. Time-Saving Solution
Creating high-quality product visuals typically requires significant time investment. With this tool, you can generate professional-looking mockups in minutes, streamlining your product launch process and marketing efforts. This rapid turnaround is particularly valuable in fast-paced industries where time-to-market is crucial.
3. Consistency Across Marketing Channels
Maintaining a consistent brand image across various marketing channels can be challenging. Realistic Product Studio 3D ensures uniformity in your product presentations, whether you’re creating visuals for your website, social media, or print materials. This consistency helps reinforce your brand identity and professionalism.
4. Flexibility and Customization
The tool offers extensive customization options, allowing you to experiment with different angles, color schemes, and additional elements. This flexibility enables you to create the perfect visual representation for each product, highlighting its unique features and appeal to your target audience.
5. Enhanced E-commerce Presence
In the world of online shopping, high-quality product images are essential for converting browsers into buyers. The realistic 3D mockups generated by this tool can significantly enhance your e-commerce listings, providing customers with a clear and attractive view of your products, potentially leading to increased sales and reduced return rates.
6. Improved Product Development Process
For product designers and developers, the tool offers a quick way to visualize concepts and iterations. This can be invaluable during the development phase, allowing for rapid prototyping and easier communication of ideas to stakeholders or potential investors.
Addressing User Needs and Solving Specific Problems
Problem: Limited Resources for Professional Product Photography
Many small businesses and individual sellers struggle with creating professional-looking product images due to budget constraints or lack of photography skills. Realistic Product Studio 3D addresses this by providing a cost-effective alternative that produces high-quality visual representations of products.
Example:
A small jewelry maker wants to showcase their new line of handcrafted necklaces. Using the tool, they input:
- Product Name: “Artisan Silver Pendant Necklace”
- Perspective: “Close-up 3/4 view”
- Color Scheme: “Silver with soft warm lighting”
- Additional Elements: “Velvet display stand, subtle shadow”
The tool generates a description of a stunning 3D mockup that highlights the intricate details of the pendant, the sheen of the silver chain, and the luxurious presentation on a velvet stand, all without the need for a professional photo shoot.
Problem: Difficulty in Visualizing Products in Different Settings
Manufacturers and designers often need to present their products in various contexts to appeal to different market segments. The Realistic Product Studio 3D tool solves this by allowing easy customization of backgrounds and additional elements.
Example:
A sports equipment company wants to showcase their new running shoes for both urban and trail runners. They use the tool twice:
Urban Setting:
- Product Name: “UltraFlex Running Shoes”
- Perspective: “Side view with slight tilt”
- Color Scheme: “Neon accents on black”
- Additional Elements: “Reflective city street surface, nighttime lighting”
Trail Setting:
- Product Name: “UltraFlex Running Shoes”
- Perspective: “3/4 view from front”
- Color Scheme: “Earth tones with orange accents”
- Additional Elements: “Rocky trail surface, dappled sunlight through trees”
The resulting descriptions provide vivid imagery of the same shoe in two distinct environments, appealing to different customer segments without the need for multiple photo shoots or location scouting.
Practical Applications and Use Cases
1. E-commerce Product Listings
Online retailers can use Realistic Product Studio 3D to create compelling product images for their listings. This is particularly useful for:
- New product launches where physical samples are not yet available
- Customizable products to show various color options or configurations
- Seasonal variations of existing products
Example:
An online fashion retailer wants to showcase a new customizable handbag. They use the tool to generate descriptions of the bag in different colors, with various strap options, and from multiple angles. This allows customers to visualize all possible combinations before making a purchase, potentially increasing sales and reducing returns.
2. Product Design and Prototyping
Product designers and engineers can utilize the tool to quickly visualize concepts and iterate on designs. This application is valuable for:
- Presenting initial design concepts to clients or stakeholders
- Exploring different color schemes and finishes
- Communicating design changes or improvements
Example:
A tech startup is developing a new smart home device. They use Realistic Product Studio 3D to generate descriptions of their prototype in various settings:
- On a living room shelf to show size and aesthetics
- Close-up views to highlight interface elements
- Multiple color options to gauge market preferences
These visualizations help the team refine their design and present a compelling case to potential investors.
3. Marketing and Advertising Campaigns
Marketers can leverage the tool to create consistent and attractive product visuals across various campaigns:
- Social media posts and advertisements
- Email marketing materials
- Print advertisements and catalogs
Example:
A cosmetics brand is launching a new line of eco-friendly packaging. They use Realistic Product Studio 3D to create a series of mockups showcasing:
- The sleek design of the new containers
- Various product types (creams, serums, masks) in the new packaging
- Groupings of products to show the cohesive line
- Close-ups highlighting the sustainable materials used
These visuals are then used across their marketing channels to create a unified and impactful campaign.
4. Educational and Instructional Materials
Educators and trainers can use the tool to create clear, detailed visuals of products or equipment for instructional purposes:
- Technical manuals and user guides
- Online courses and tutorials
- Assembly instructions for complex products
Example:
A manufacturer of professional-grade cameras wants to create an online course for photography beginners. They use Realistic Product Studio 3D to generate descriptions of their entry-level DSLR camera from various angles, highlighting:
- Button layouts and controls
- Lens attachment process
- Battery and memory card insertion
- Proper handling techniques
These detailed visualizations enhance the learning experience and provide clear references for students.
Frequently Asked Questions (FAQ)
Q1: Can I use the generated mockups for commercial purposes?
A1: Yes, the mockup descriptions generated by Realistic Product Studio 3D can be used for commercial purposes, including product listings, marketing materials, and advertising campaigns.
Q2: How detailed are the mockup descriptions?
A2: The tool provides highly detailed descriptions, including information about the product’s appearance, lighting, perspective, and any additional elements you’ve specified. These descriptions are designed to give a clear mental image of the 3D rendering.
Q3: Can I request specific materials or textures for my product?
A3: Yes, you can specify materials or textures in the “Additional Elements” field. For example, you could request a “glossy ceramic finish” or “brushed metal texture” for your product.
Q4: Is it possible to create mockups of products that don’t exist yet?
A4: Absolutely! The tool is excellent for visualizing concept products or prototypes. Simply describe your envisioned product as accurately as possible in the input fields.
Q5: Can I generate multiple views of the same product?
A5: Yes, you can use the tool multiple times with different perspective inputs to create descriptions of your product from various angles.
Q6: How can I ensure my mockup stands out from competitors?
A6: Experiment with unique color schemes, interesting perspectives, and creative additional elements to make your mockups distinctive. Consider your brand identity and target audience when making these choices.
Q7: Are there any industry-specific features?
A7: While the tool is versatile for various industries, you can tailor it to your specific needs by providing detailed inputs. For example, fashion items can include fabric textures, while tech products might focus on sleek finishes and interface details.
Q8: How can I use these mockups in my product development process?
A8: The mockup descriptions can be used to communicate design ideas to team members, get feedback from potential customers, or present concepts to stakeholders before investing in physical prototypes.
Q9: Can I create lifestyle mockups with this tool?
A9: Yes, by using the “Additional Elements” field creatively, you can describe lifestyle elements that complement your product, creating a more contextual and appealing mockup.
Q10: How do I choose the best perspective for my product?
A10: Consider your product’s key features and what you want to highlight. For example, a front view might be best for showcasing a phone’s screen, while a 3/4 view could better display the sleek profile of a laptop.
Important Disclaimer
The calculations, results, and content provided by our tools are not guaranteed to be accurate, complete, or reliable. Users are responsible for verifying and interpreting the results. Our content and tools may contain errors, biases, or inconsistencies. We reserve the right to save inputs and outputs from our tools for the purposes of error debugging, bias identification, and performance improvement. External companies providing AI models used in our tools may also save and process data in accordance with their own policies. By using our tools, you consent to this data collection and processing. We reserve the right to limit the usage of our tools based on current usability factors. By using our tools, you acknowledge that you have read, understood, and agreed to this disclaimer. You accept the inherent risks and limitations associated with the use of our tools and services.
